
Part 1: Create a Project
In this part, you create a new Valsight project and define its time horizon.
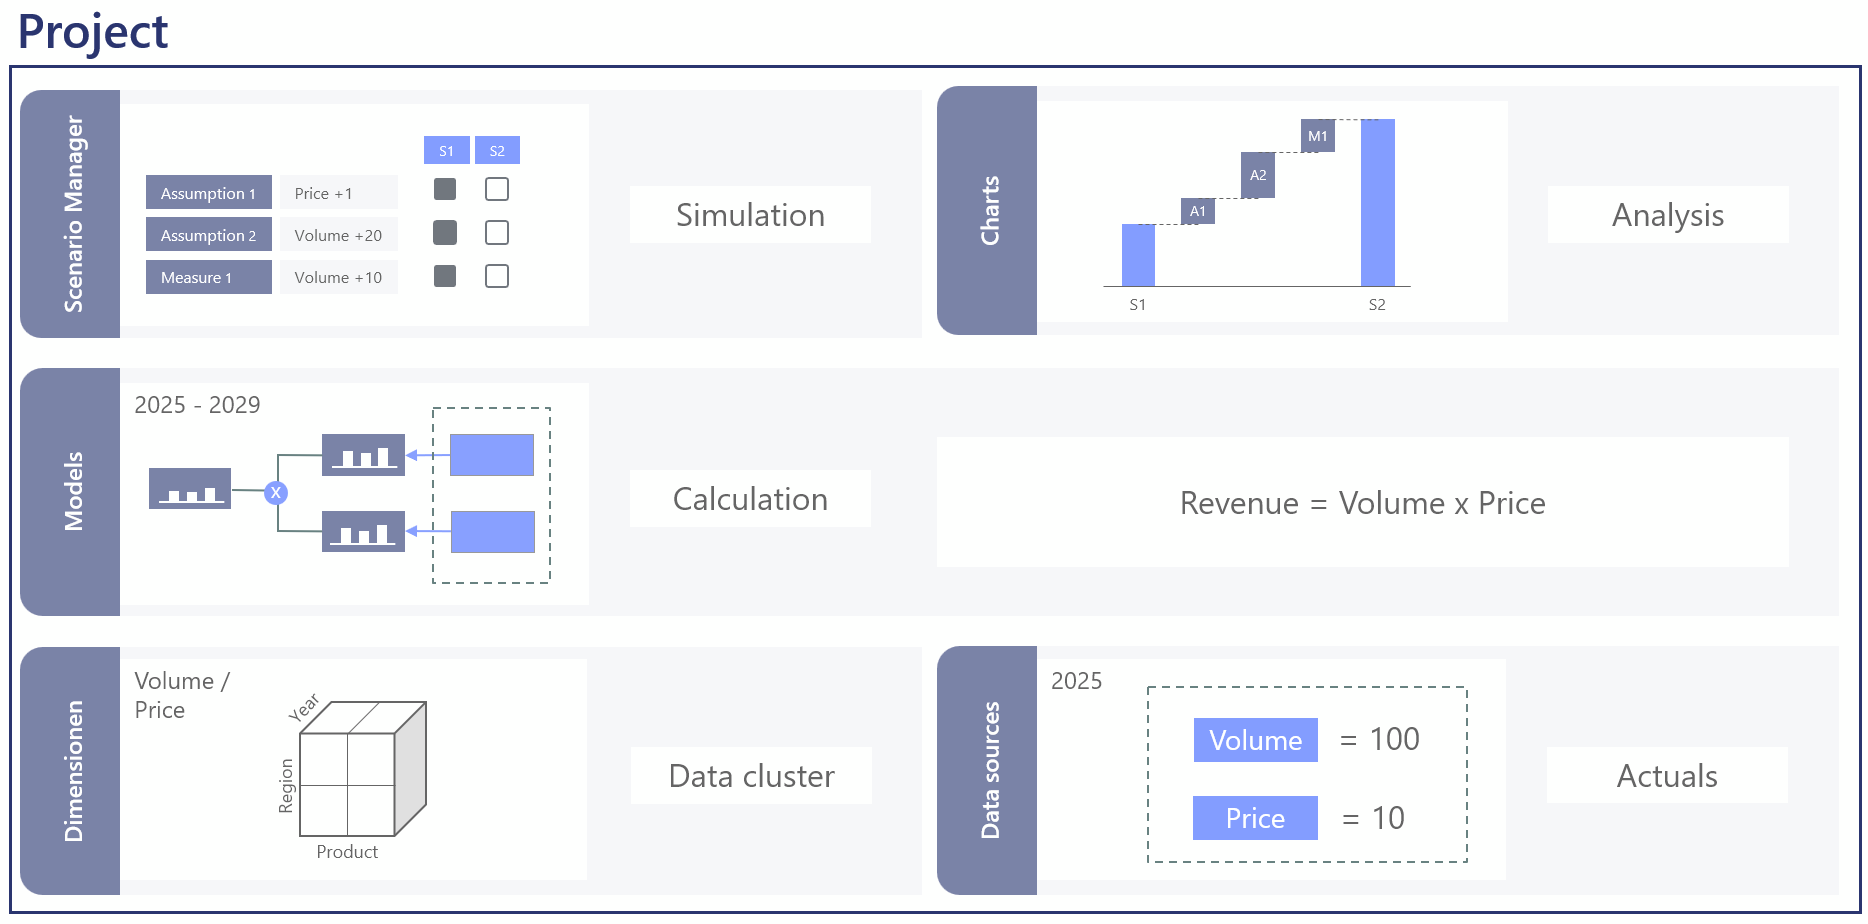
Projects in Valsight are the top-level containers that bundle together dimensions, data sources, models, workspaces, and scenarios for a specific planning use case.
For detailed reference on any of the concepts here, see Projects.
Watch the video guide
Step 1: Open the project overview
After logging in to Valsight, the Project overview appears. This is the start page that lists all projects you have access to.
Step 2: Create a new project
Click Add in the upper right corner of the project overview.
Enter the following details:
Field | Value | Notes |
|---|---|---|
Name | Revenue Planning Tutorial | Choose a descriptive name. |
REVENUE_TUTORIAL | This must be unique. |
Step 3: Set the time horizon
Configure the time horizon in the project creation dialog:
Setting | Value | Notes |
|---|---|---|
Horizon Period | Year | Can also be Month or Quarter. |
From | 2025 | The first year in your data. |
To | 2029 | The last year of your planning horizon. |
Step 4: Save the project
Click Create.
The project appears in the project overview.
Click the project name to open it.
After opening the project, you will see an empty project with sections for workspaces, models, dimensions, and data sources.
What you have done
Created a new project called
Revenue Planning TutorialSet the time horizon to years from 2025 to 2029
Opened the project, ready for the next steps
Next step
Continue to Part 2: Set Up Dimensions.