
Variables
Basic Overview
Project variables allow you to centrally define values for a project and use these values when working in a model or overwriting them in the workspace.
While some variables have predefined values (e.g. project horizon level, project horizon start) that can only be changed via the project settings, users are also able to create variables with custom values.
These values can be numerical or non-numerical.
Creating variables
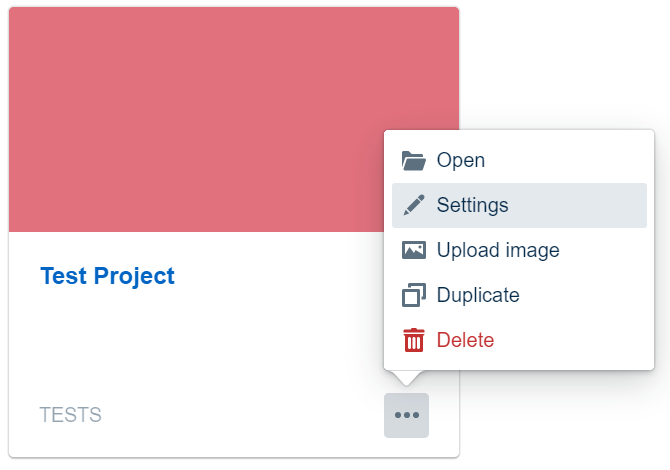
Users are able to create variables with custom values that can be used in modeling a project or in scenarios.
This can be done in the project settings under Variables > Configure variables.
Restrictions
There are some naming restrictions when creating a variable. The first letter has to be a letter. The rest of the name can be numbers, letters (uppercase and lowercase) underscores or a dash.
Using Variables in Node Operations
When composing node operations in the model editor, you can use project variables as a placeholder for a value. This allows you to change the value at one central place instead of going back to all your nodes and editing the operations to reflect the new value.
For example, consider you want this operation in your node:

and the year 2020 is the start of your Project Horizon Period, as set in the project settings.
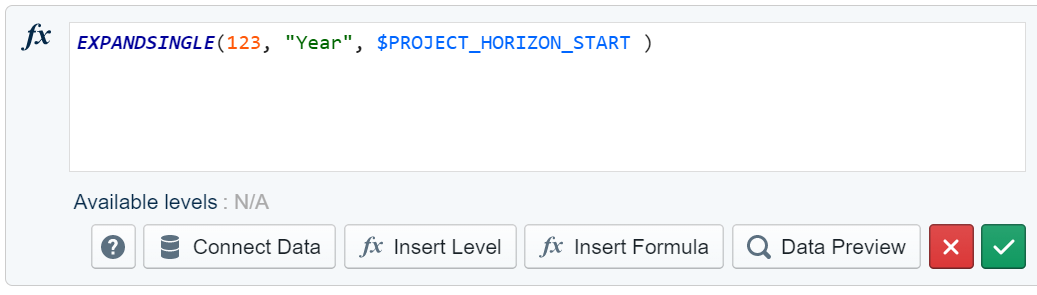
Instead of entering the hard value "2020", you can type the dollar character ($) to choose a variable based on a list of available variables.
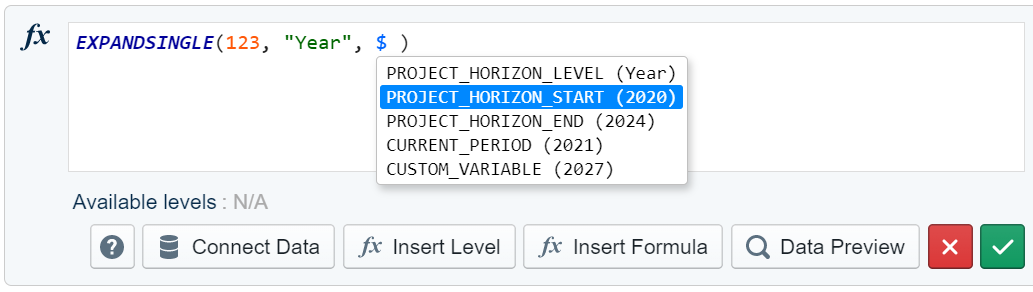
When using a project variable in a node operation, make sure to use the $ character before the variable name.
The corresponding variable value is displayed next to the variable name. In this example, you know that it will be understood as "2020" when the node output is calculated.
From this point on, whenever you change your project horizon start, everywhere in your node operations where you use the "$PROJECT_HORIZON_START" variable, it will automatically read the newly updated value.
Overwriting Scenario Variables
While users are able to create new variables, it is also possible to overwrite the values of existing variables.
These adjustments can be done directly in the Scenario Manager.
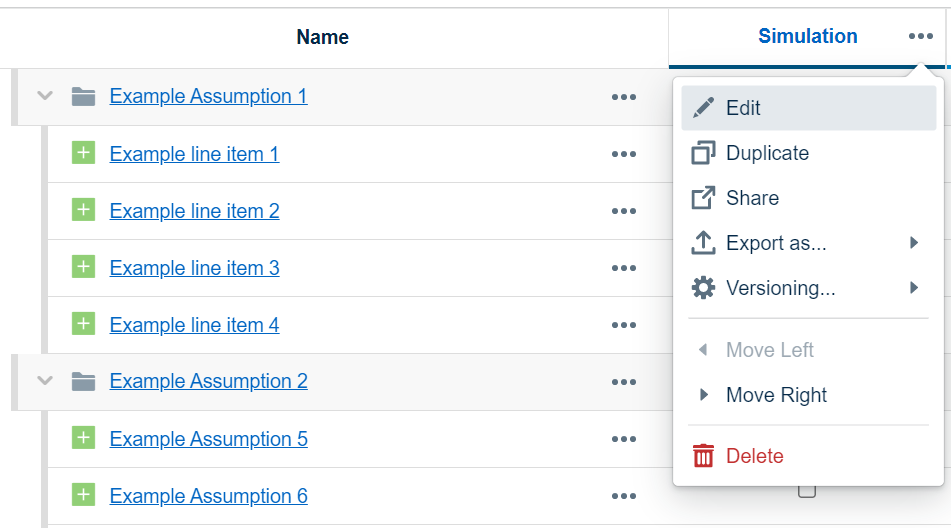
A "Manage scenario" window opens where you can change the settings of the scenario (name, description, based on, color) as well as the values of scenario variables.
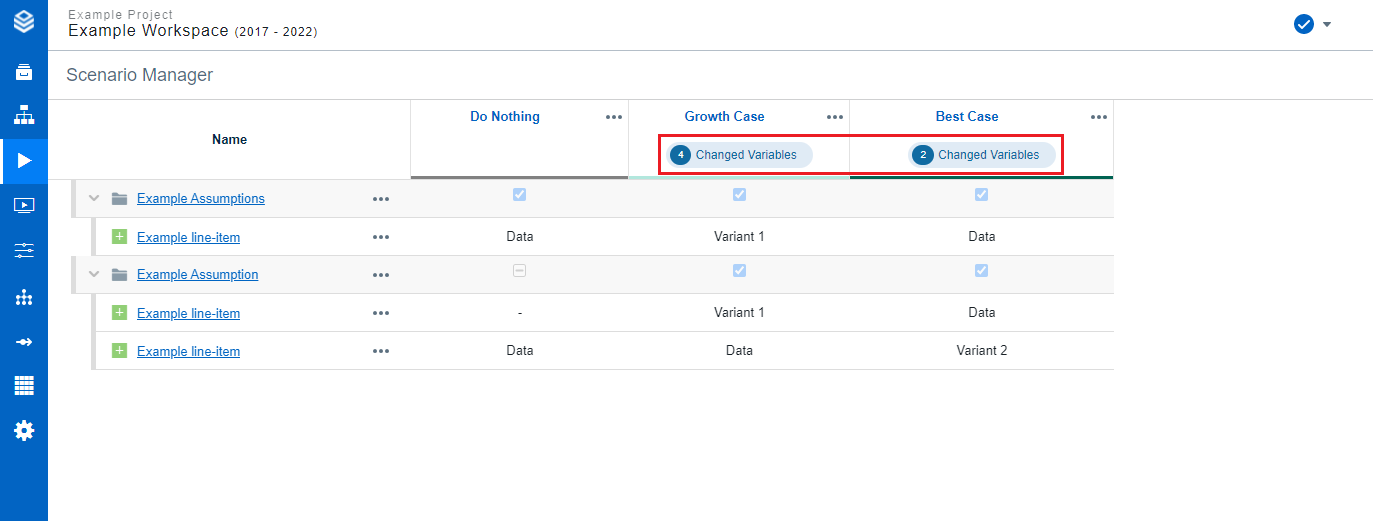
Overwriting values enables a faster and easier simulation of different scenarios as key values can be changed quickly.
The number of changed variables is displayed in the Scenario Manager for each scenario respectively.
Not supported
Sharing scenarios with overwritten variables is not supported. It is possible to share the scenario, but the overwritten values will not be transferred. Manually transferring and changing the variables in the new scenario is possible.
Available System Values as Variables
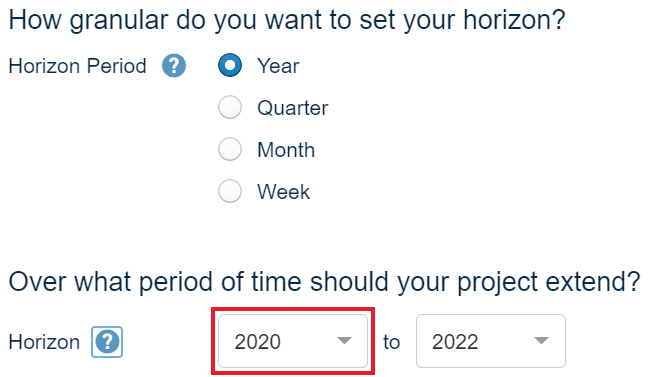
The following system values are available as variables. The system-defined variables (marked in blue) will not be shown on the variable overview page. They can be configured in the project settings.
Time Setting | Variable | Value | Example Value |
|---|---|---|---|
 | $PROJECT_HORIZON_LEVEL | The projects "horizon period" from the time settings. | "Year" |
 | $PROJECT_HORIZON_START | The start value from the projects time horizon. | "2019" |
 | $PROJECT_HORIZON_END | The end value from the projects time horizon. | "2022" |
 | $CURRENT_PERIOD | The current period of your project. | "2020" |
Custom Variable | $CUSTOM_VARIABLE | The custom variable has no predefined value as this can be set by the user individually. |
Variable Overwrite Handling
Pin a variable in the Scenario Manager to the same value as its default while ensuring it remains unaffected by subsequent changes to the default variable. This is useful when you want to preserve a specific value for a scenario, even if the project variable changes later. Resetting a variable to default is still possible, which makes the scenario variable dynamically follow any updates to the project-level default.
To pin a variable: simply set its value in the scenario to match the project default. Unlike before, this will now save the value as a fixed override instead of reverting to the default. For scenarios where the project default is null, resetting the scenario variable will automatically align it to the default value.