
Target Value Setting
In this article, you will learn what the target setting function does and how to use it.
You can insert target values instead of change values into line-items
It is possible to upload an XLSX file to set the target values of a line-item
Inserting a target value causes Valsight to calculate the necessary change from the baseline value
Target value setting allows you to insert expected outcome values
Target Value Setting
When configuring a line-item, there are two options for entering simulation values.
The first option for setting target values is to enter values into the “Change” column. This causes Valsight to calculate the change value as a delta on top of the corresponding node’s baseline. The resulting calculated value will be displayed in the “Result” column.
The second option is to enter target values directly into the “Result” column; this is called “Target Setting”. This results in Valsight calculating the difference compared to the baseline value and automatically displaying the obtained delta in the “Change” column.
Setting a target value instead of a change value has a few key advantages when configuring line-items.
The first advantage is that certain drivers of a business model are commonly handled in terms of expected outcomes. Factors like the number of employees might be viewed with an expected target number instead of a change to the current value.
Another advantage is that the necessary change values will be calculated automatically. This can help in demonstrating the necessary actions in order to achieve certain goals. This can enable a business to set expectations in a realistic and achievable frame.
How to set Target Values
To set a target value, open a line-item’s detail view in the Scenario Manager by clicking on its name. From there, you can select any cell in the “Result” column and enter a target value by typing it in and confirming with the “Enter” key.
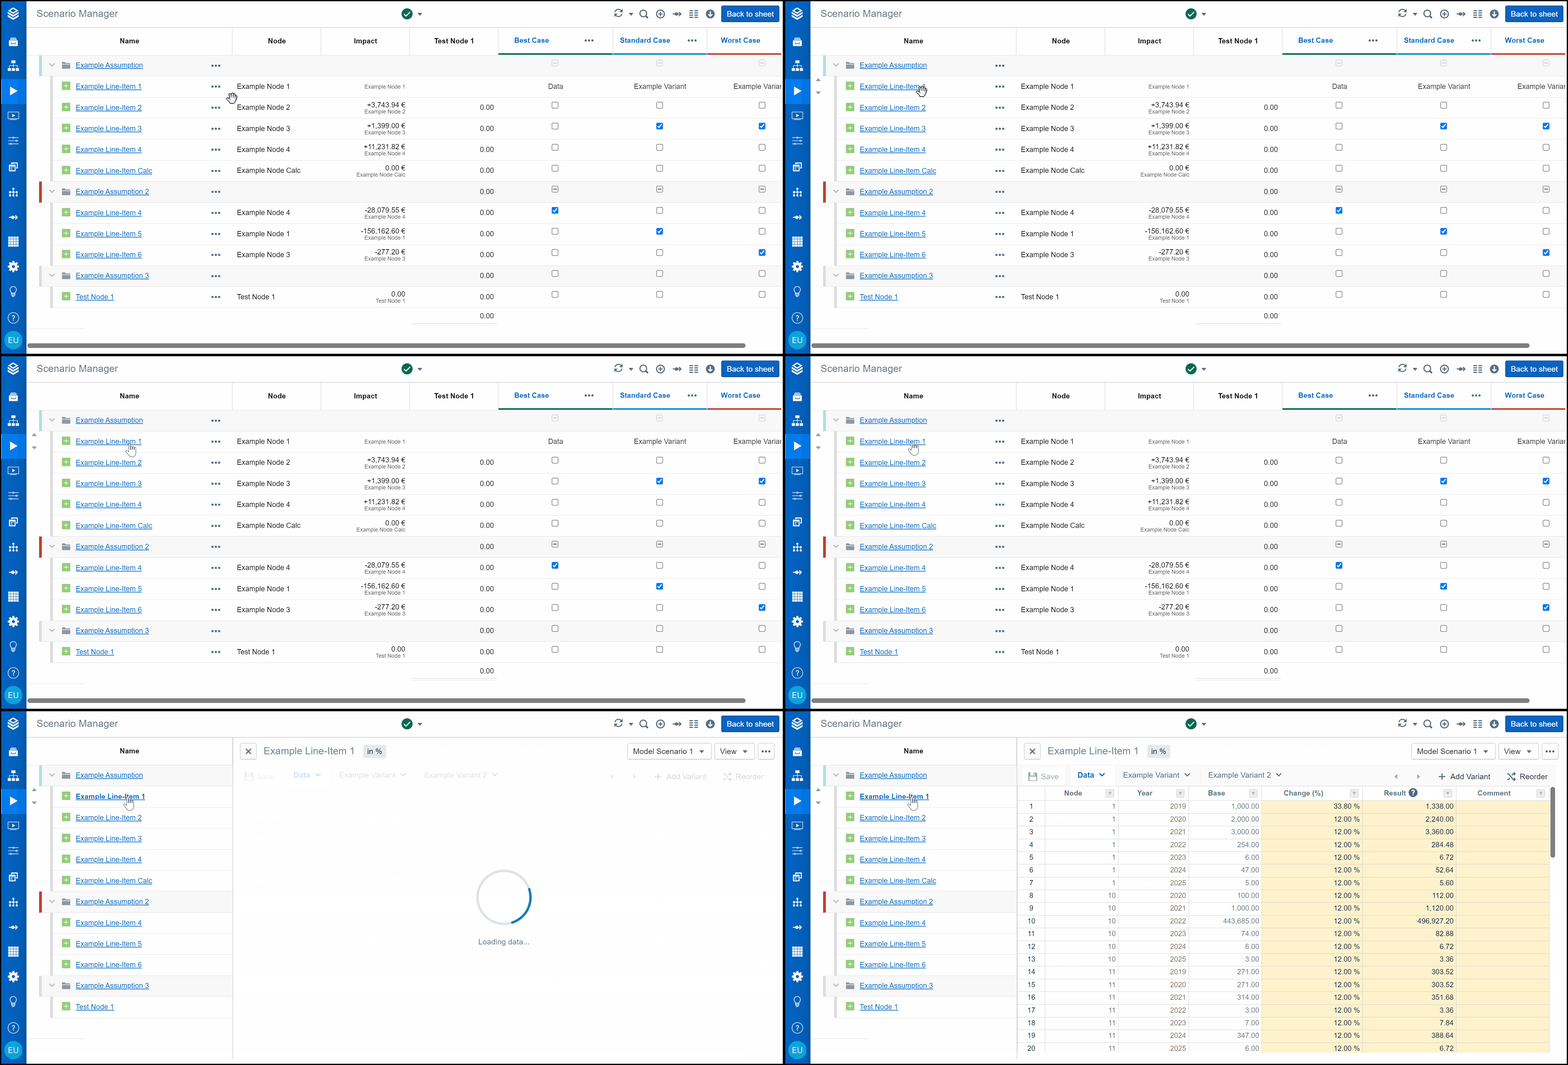
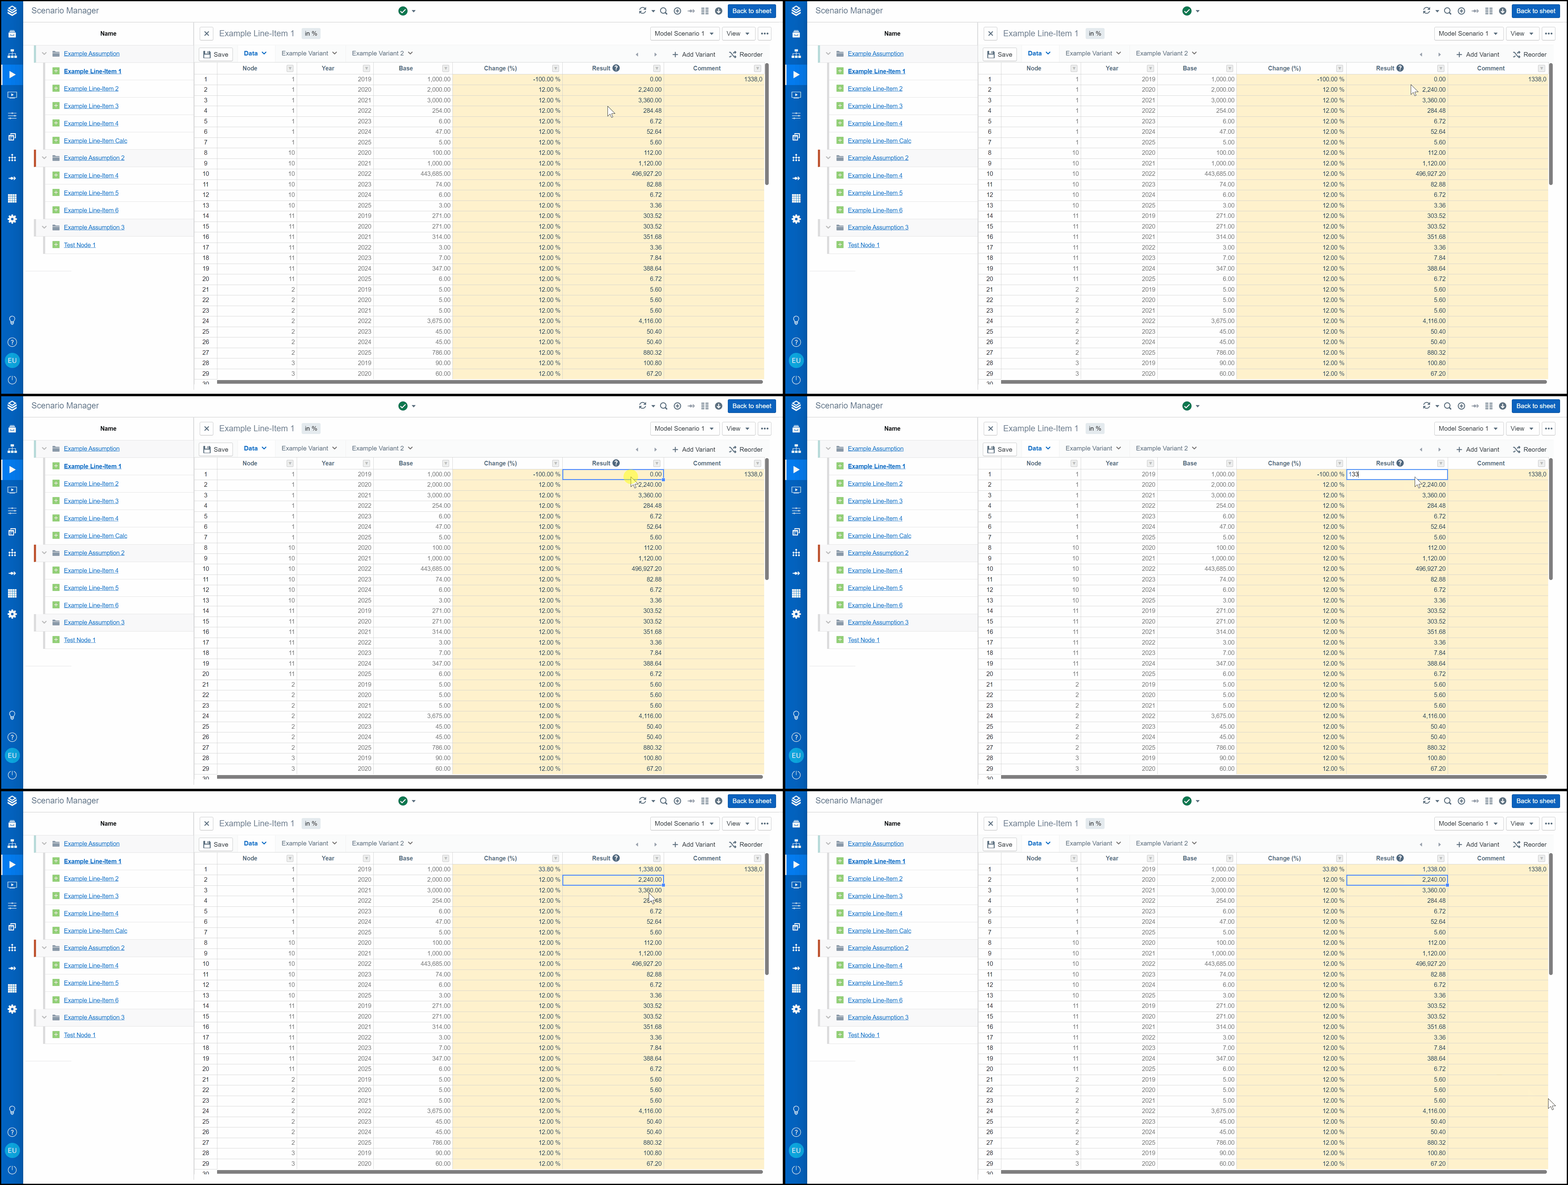
Insert a target value and press enter to set it.
Using an XLSX Import to set Target Values
If your data is already available as a Target Value, you don't need to calculate the respective delta for the Valsight import.
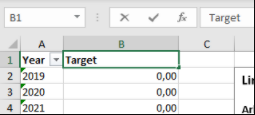
Download the Excel Sheet of your particular Line-Item and change the header from "Change" to "Target".
("Zielwert" in German, both are recognized independent of the language setting).
To upload an XLSX file, open the line-item’s three-dot menu and select “Upload Excel”.
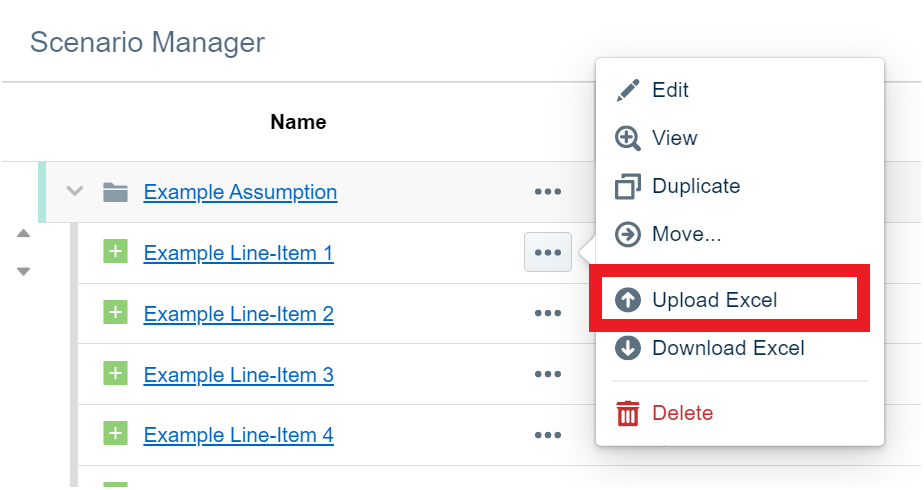
This will open the following dialog, which lets you select the file for the upload:
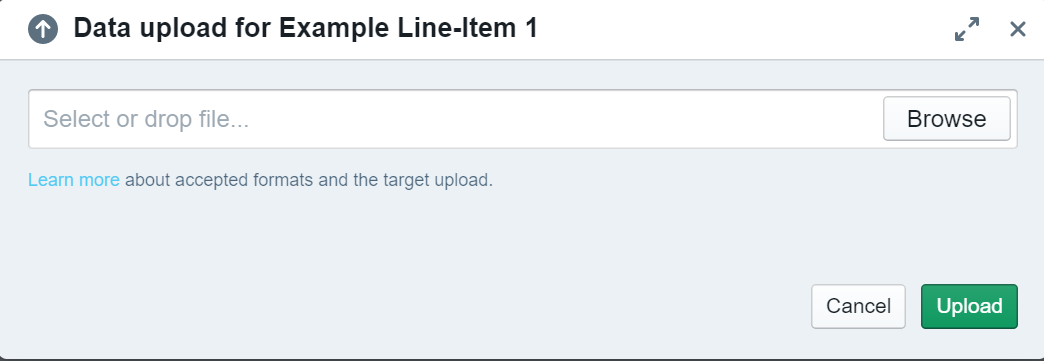
Select the desired file and click “Upload” to finalize the process.
Afterward, your target values are imported and changes to your existing baseline are calculated automatically.
Missing rows from your upload which are present in the baseline will result in 0 as the final (target) value, i.e. your absolute change will be the negative value of your original value.

Be aware that a target upload is only supported for absolute values.