Using the Presentation Mode
The presentation mode helps you to share and present your work to others.
Even though the workspace can be handy in group discussions, as you can make adjustments to assumptions on the spot, sometimes a more formal and static presentation mode is the right tool.
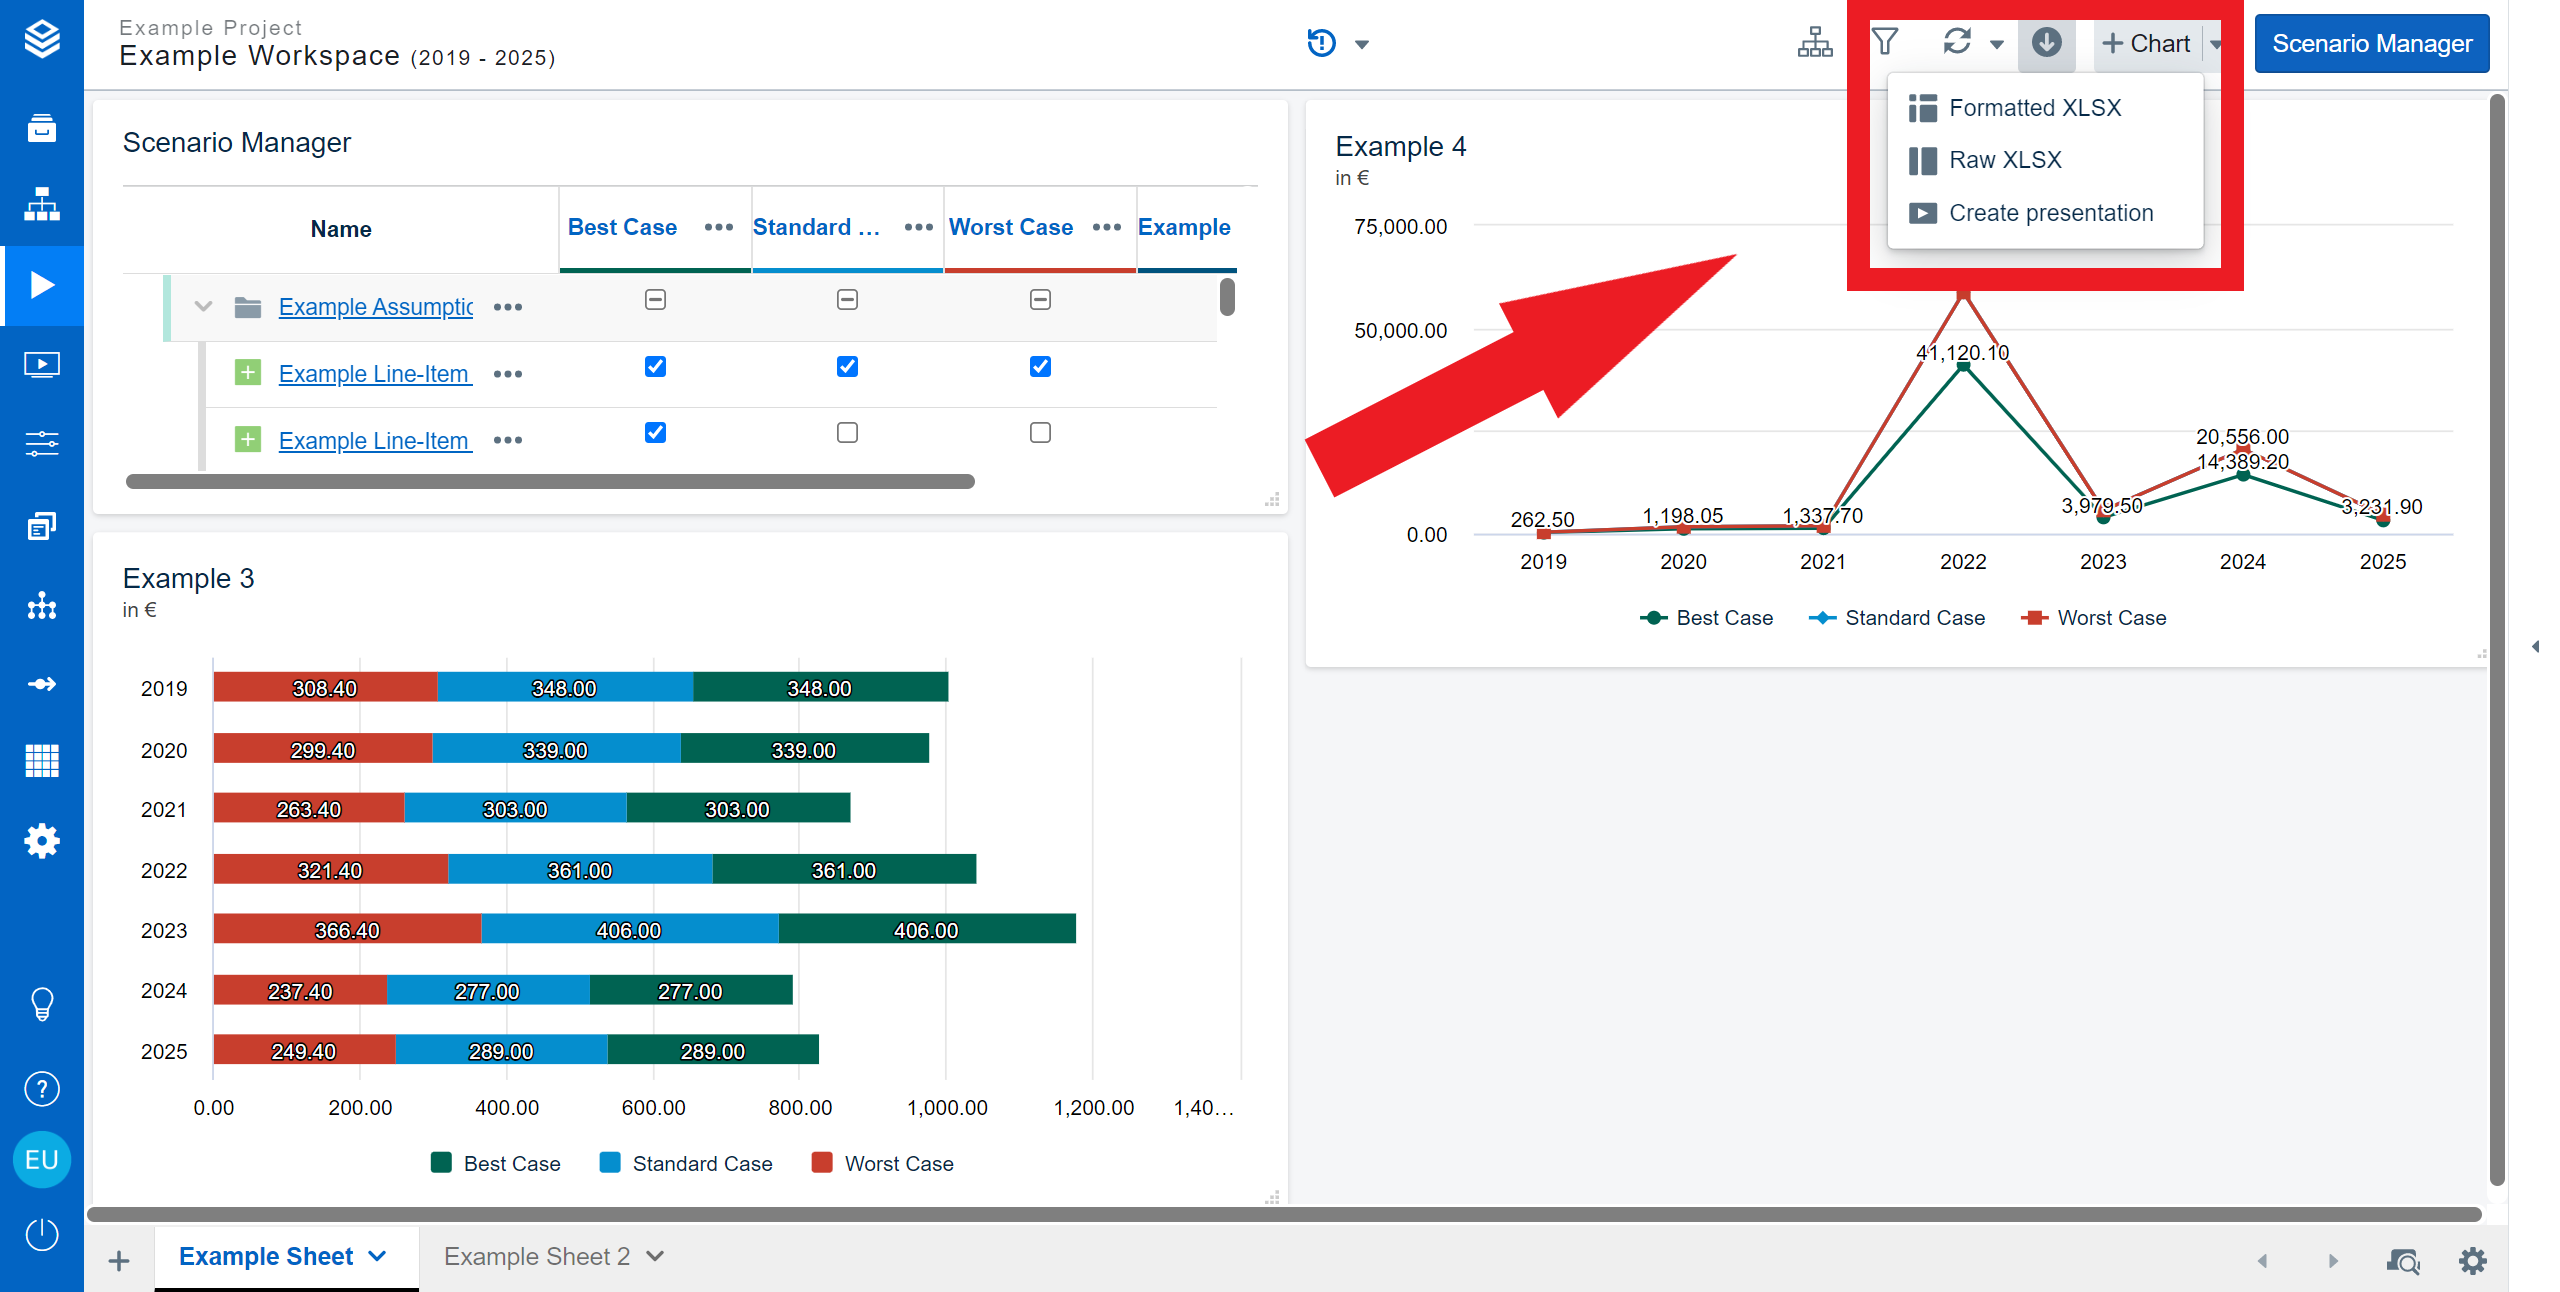
You can easily get into the presentation mode when you create a snapshot of your workspace. For that, click on the downward arrow on the top bar. In the resulting dialog, click "Create presentation".

This will open the notification shown below. The mentioned presentation main menu can be accessed by clicking on the screening button on the left.

If you have created a very large workspace, creating the snapshot might take a moment.
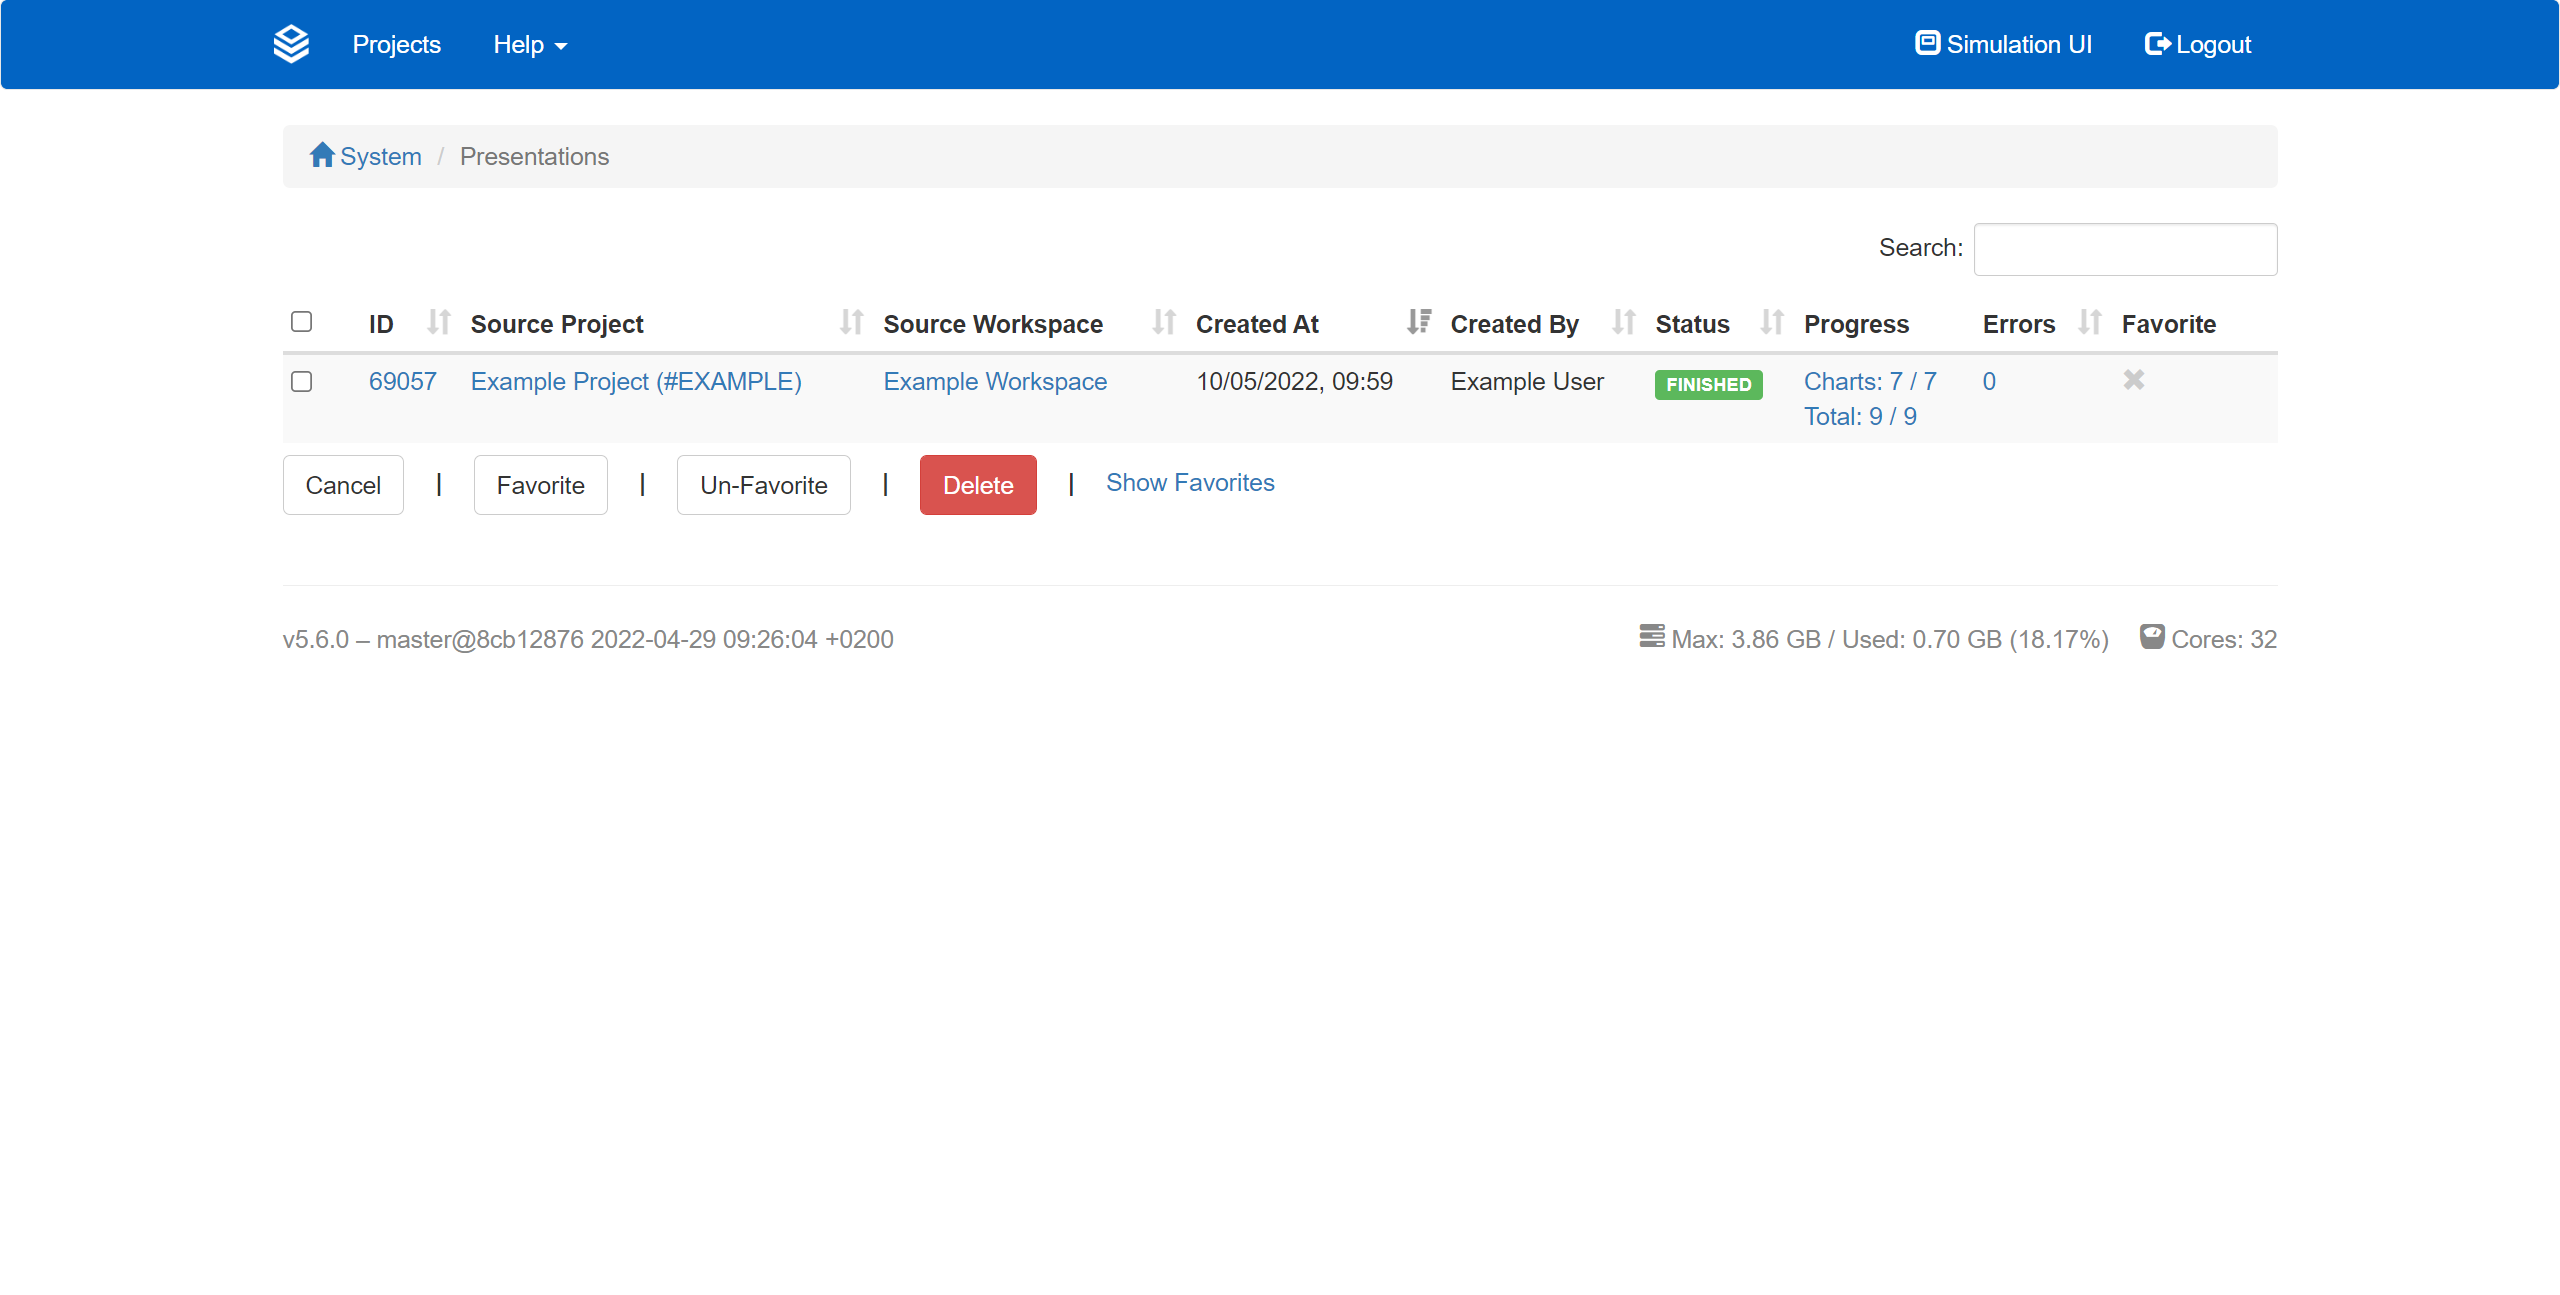
If you navigate to the presentation space via the navigation bar, you will be met with the following menu:

Here you can find all the important information about your snapshot, for example from which workspace it was created, by whom it was created, and when. With a click on the name of the snapshot, the presentation opens in a separate tab. Here, click “Presentation Mode” to view the presentation.

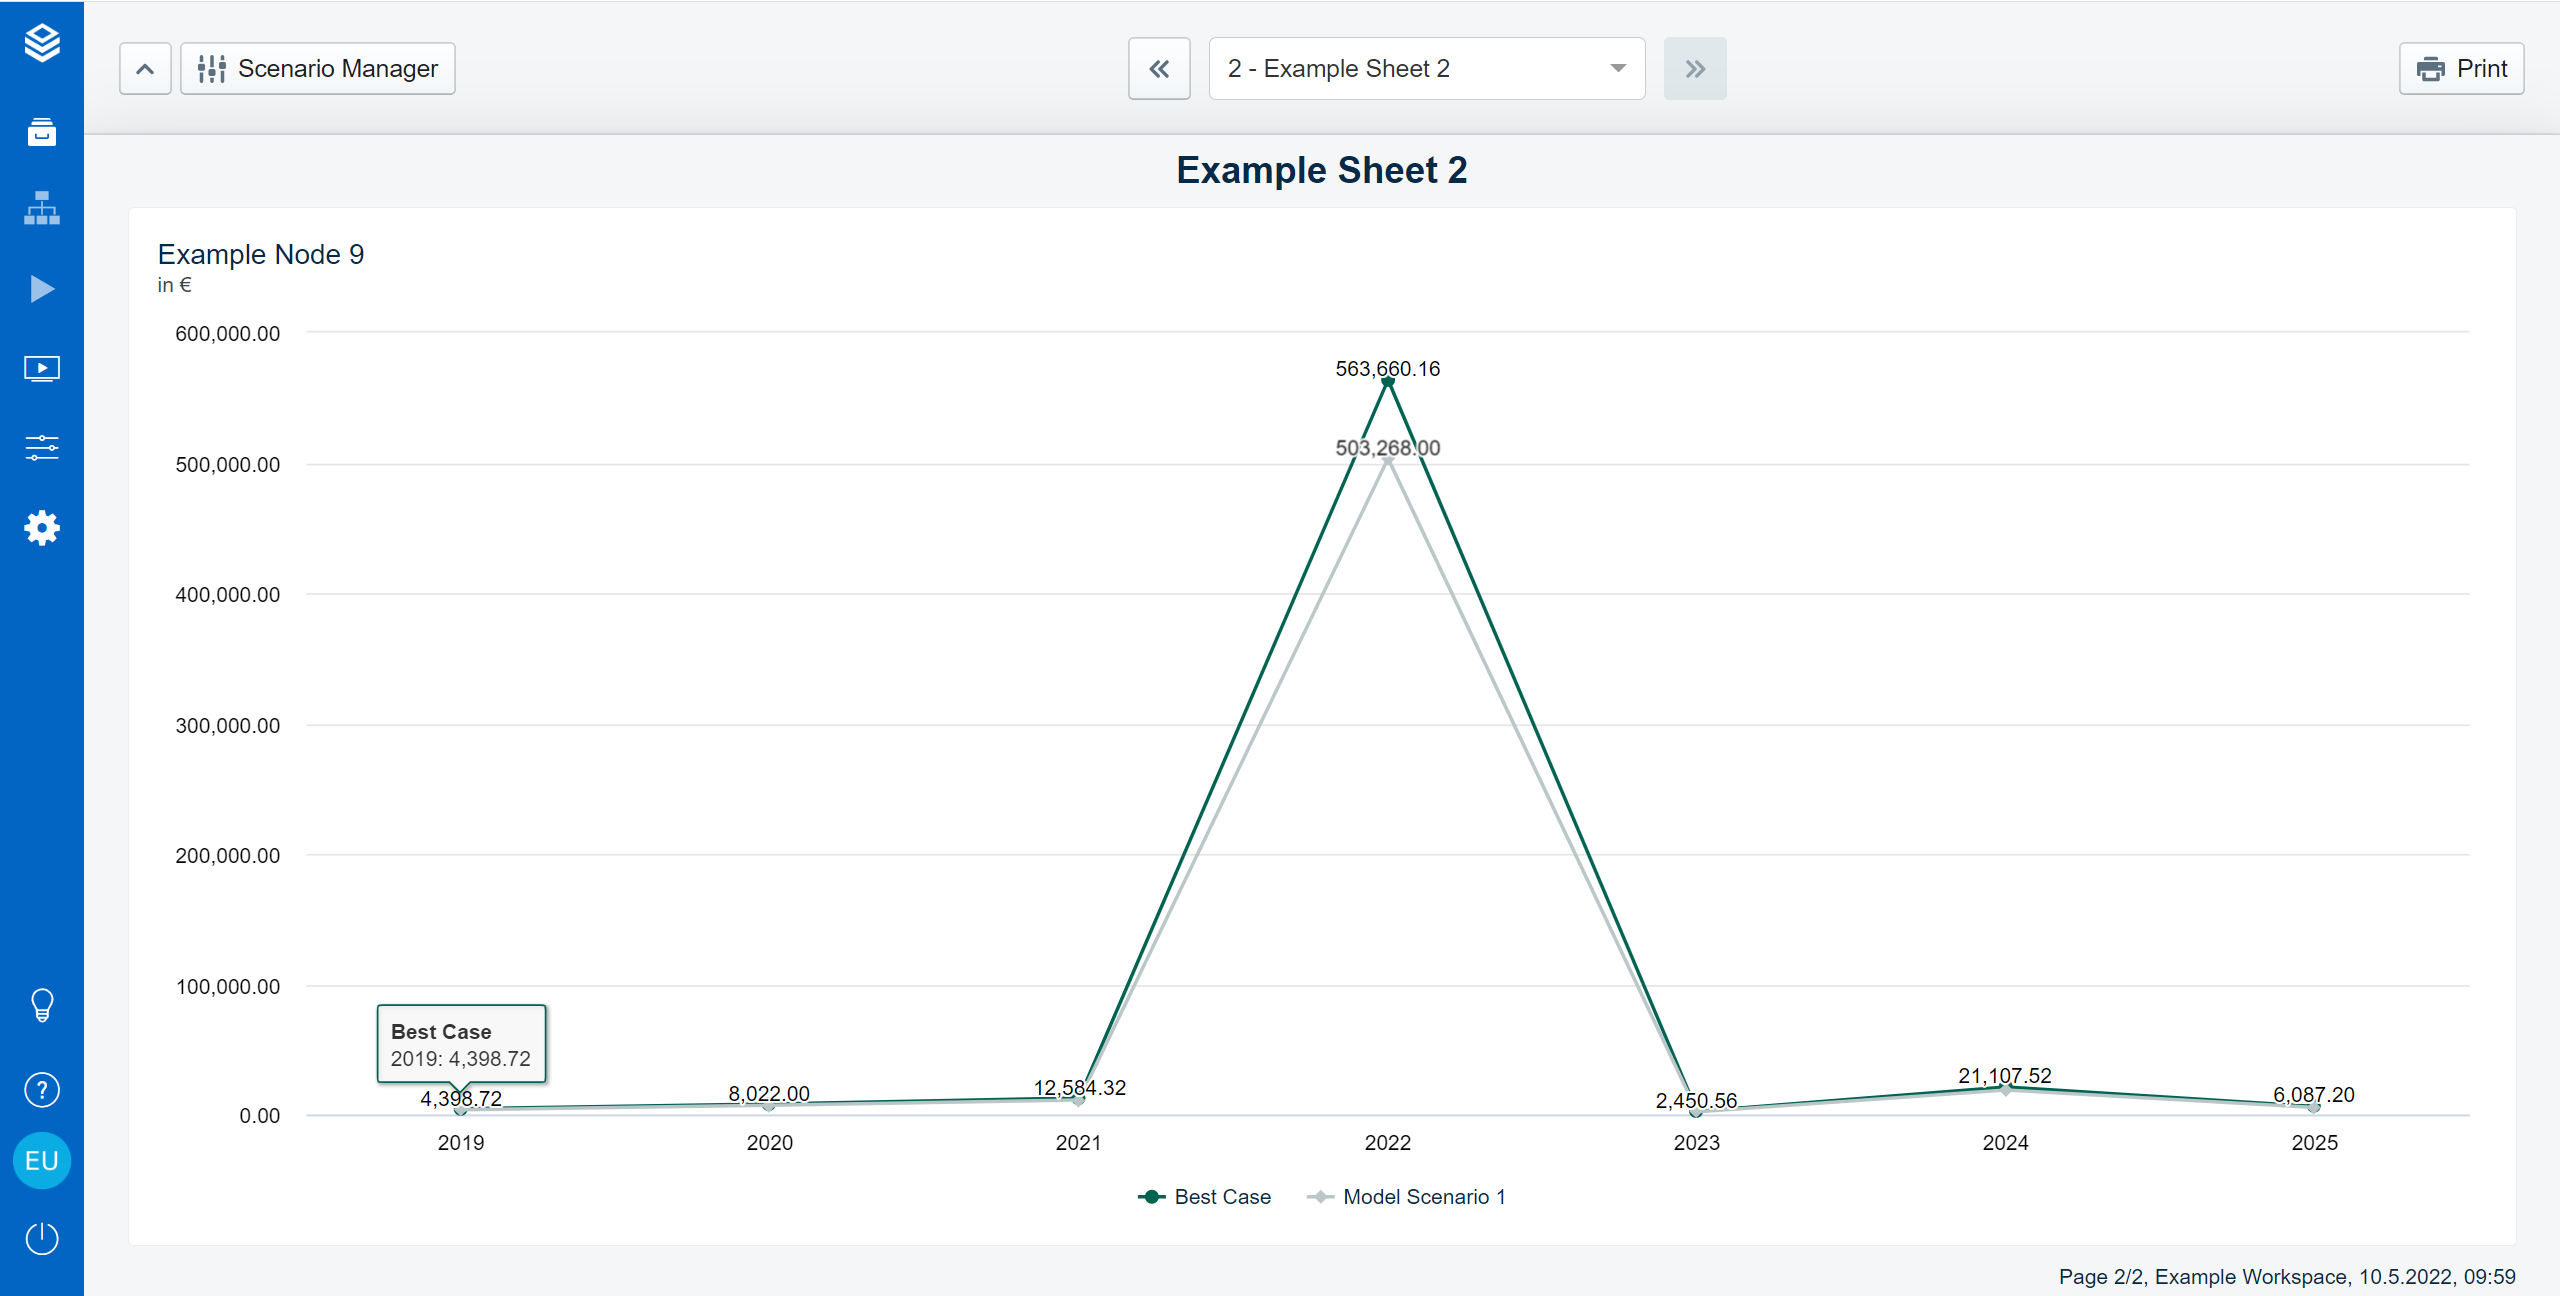
In presentation mode, you can navigate through the presentation by using the arrows on the top of the page. If you want to have a look at the scenario manager, you can do so by clicking on the button on the left. Remember, this presentation mode is truly ‘view only’ - you will not be able to edit any charts or data anymore.
With a click on “Print” in the top right corner, you will receive a printable version of your snapshot, that you can, for example, print to paper or PDF.
Snapshots as Archive
The snapshots are fully self-contained and have no connection to the original workspace, data, levels, hierarchies, or assumptions anymore. So, even if your whole data model changes, your model advances, and your assumptions get new data, the snapshot will always stay the same. This way, you can use the created snapshots for documenting your work process.
