Create and Update Data Sources - Step by Step
On this page we will be listing the steps to upload base data and check it's validity. Please note that your Excel file needs to follow the structural guidelines for Valsight data.
Step 1: Creating Data Sources
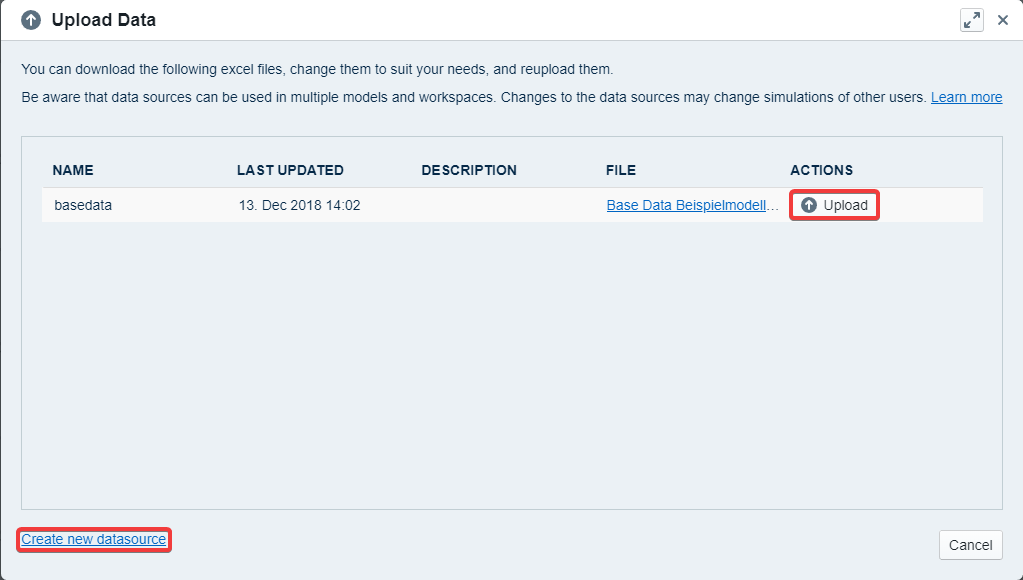
Open or create a new model and select 'Import Data' on the top right of the screen. This will open the data upload wizard. Now select 'New Data Source' on the bottom to create a new data source.
If you want to modify an existing data source you can click the 'Upload' button on the right and skip to step 2.
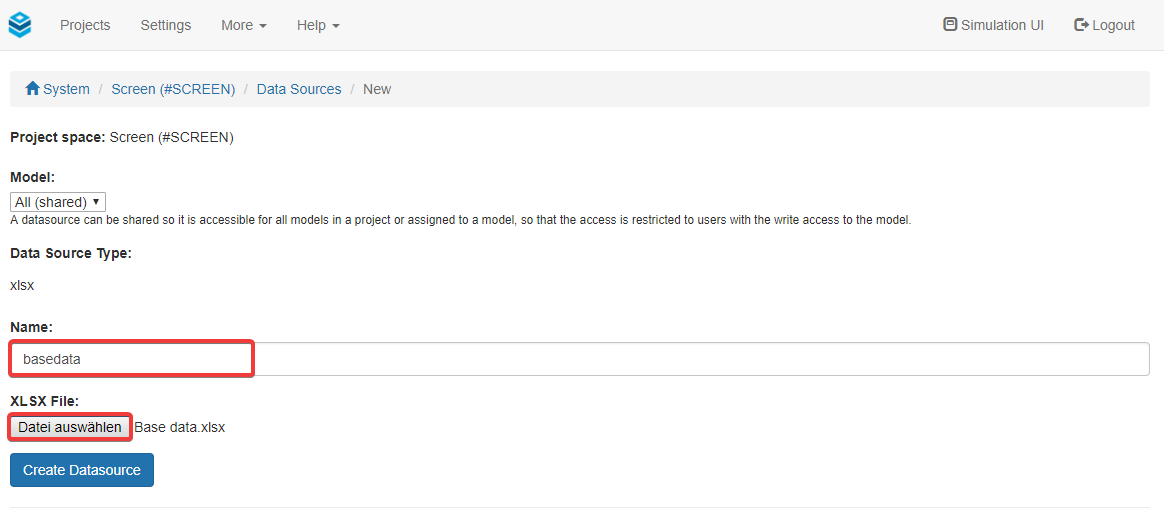
Valsight will redirect you to a new page, on which you can select 'New Data Source' → 'XLXS'.

On the following page, you can name the data source (please note the Naming Guidelines) and select an Excel file to upload. The file will only be a placeholder since we will upload a new one later. Once this is finished you can click 'Create Data Source'.
Now go back to your model and select 'Import Data' once again.
Step 2: Upload data
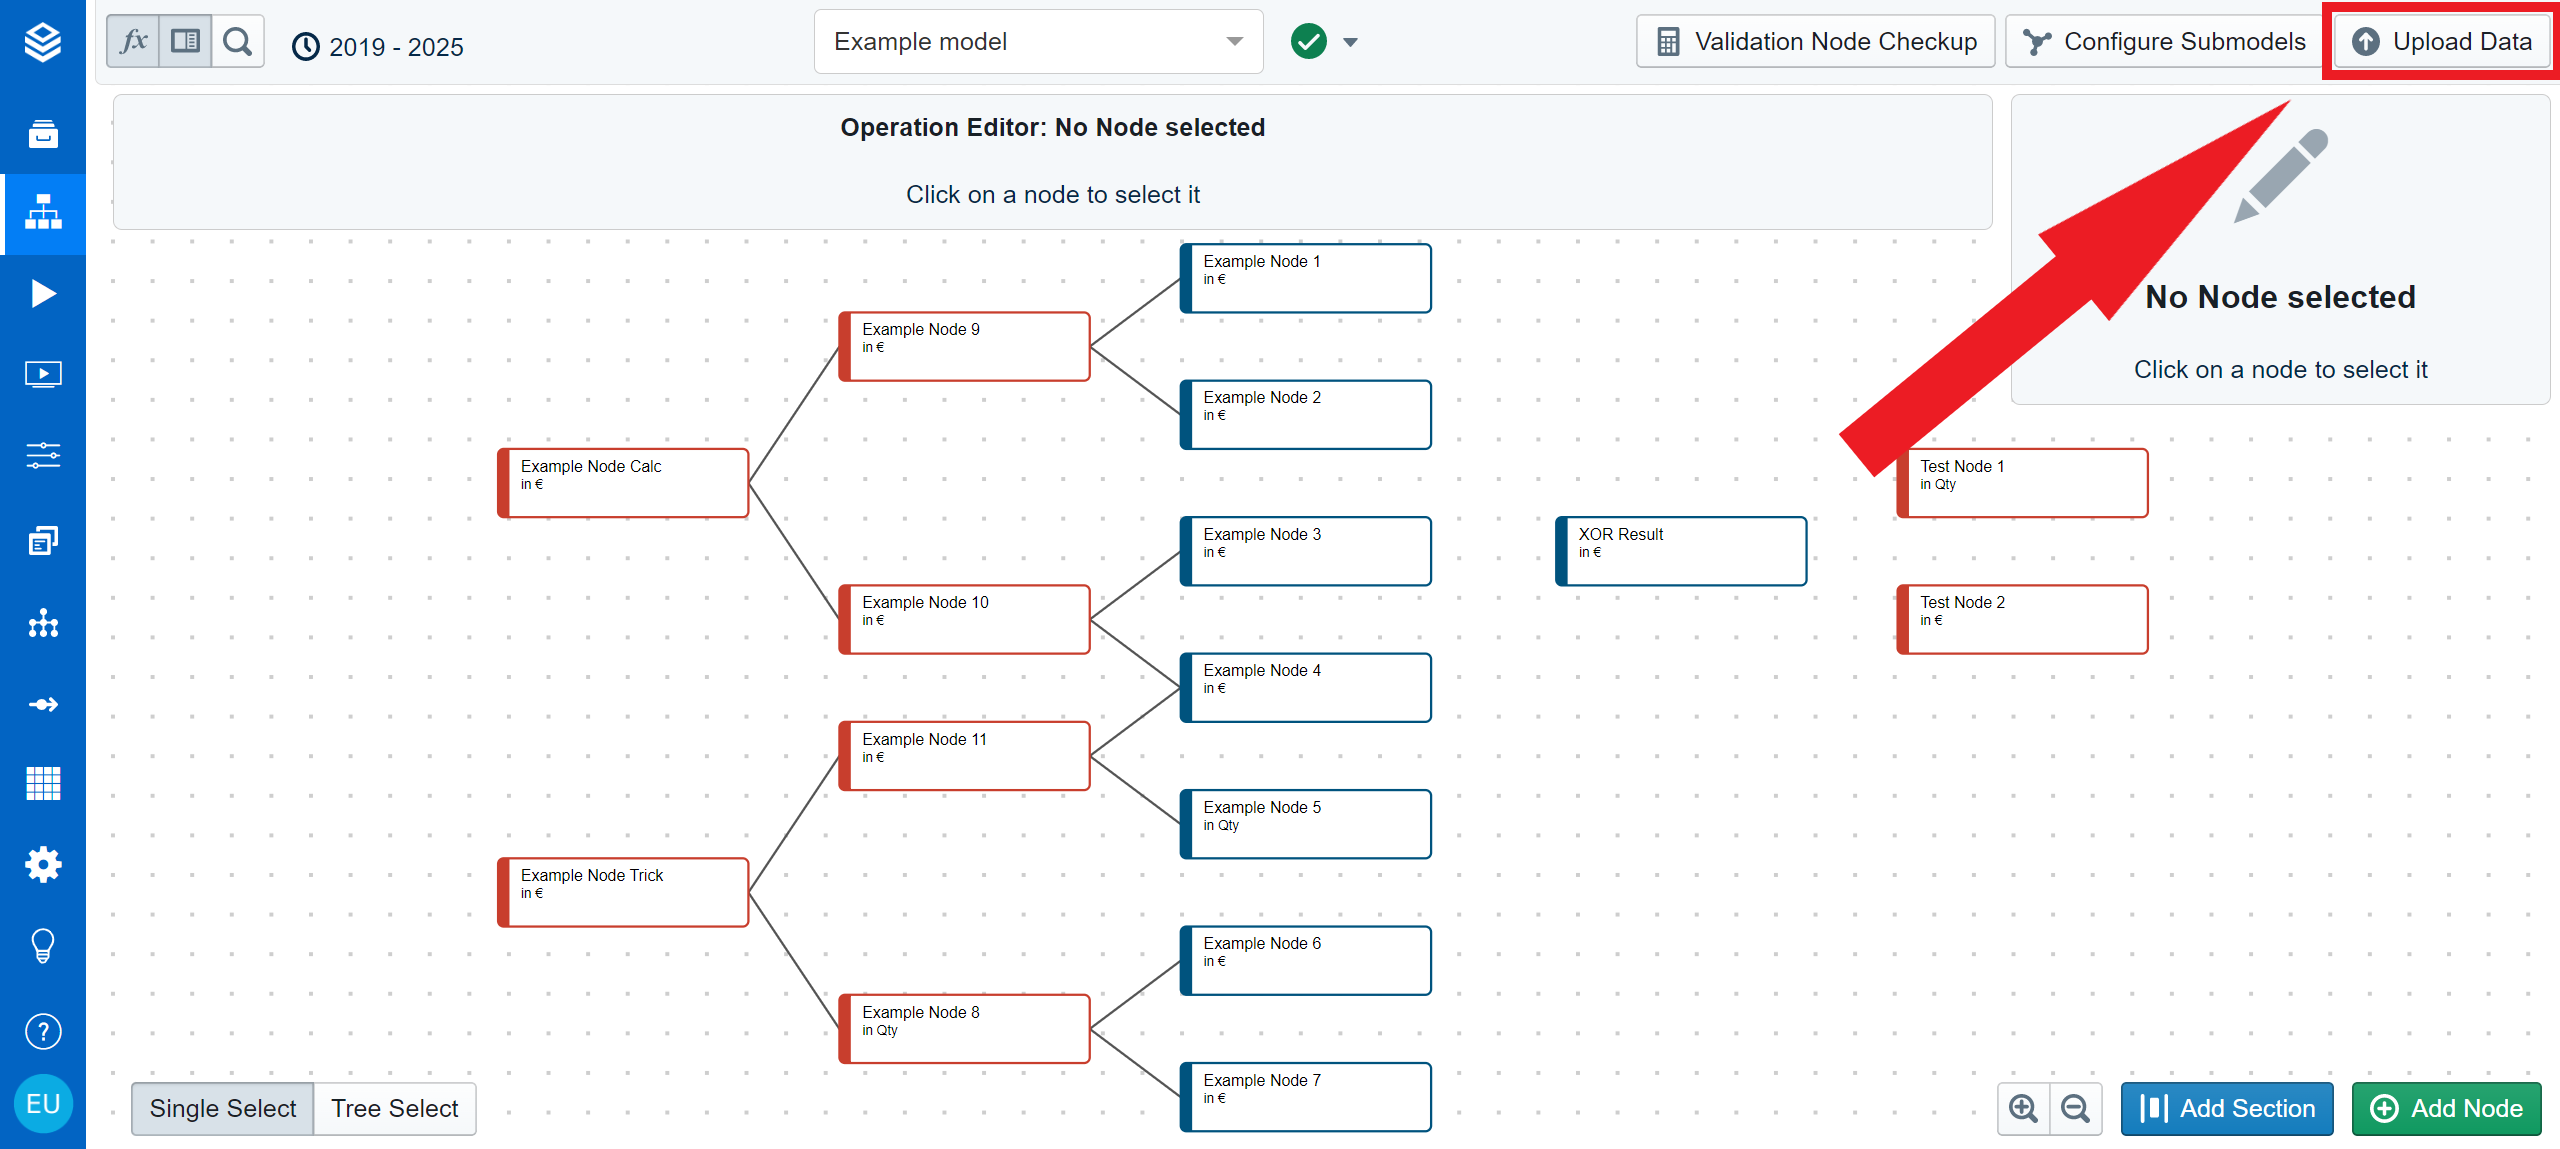
On the model page, select “Upload Data” to open the upload wizard.
Since we are back in the data upload wizard, you can select 'Upload' next to the previously created data source. Now 'Browse' and select the excel file containing the desired data. Hit 'Check Content' once it's selected.

Step 3: Validate Data
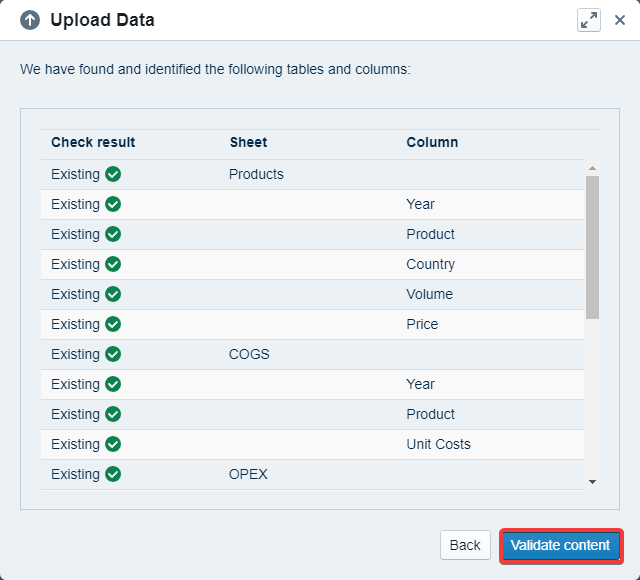
At this point, the software will display an overview showing which columns and tables were recognized. If everything is ok, you can hit 'Validate Content'.
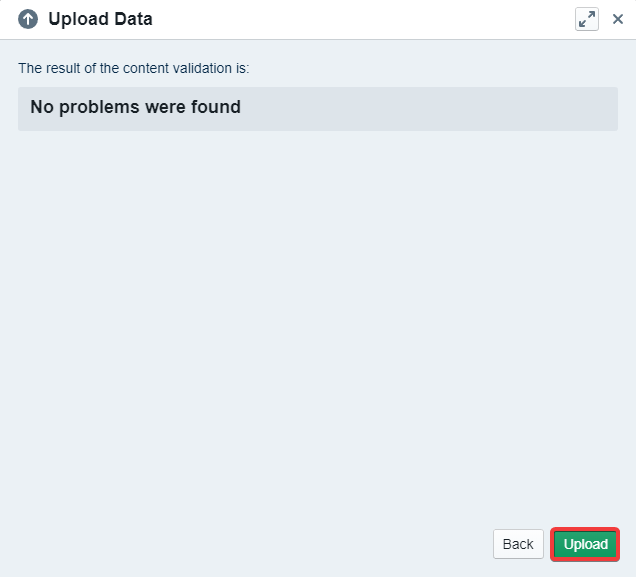
Now the data is getting validated. If everything worked correctly, the data upload wizard will display ‘No problems found’. In this case, you can 'Upload' your new data source.
Possible Problems
Check if your Dimension & Hierarchy Management is configured correctly if the software shows unknown columns.
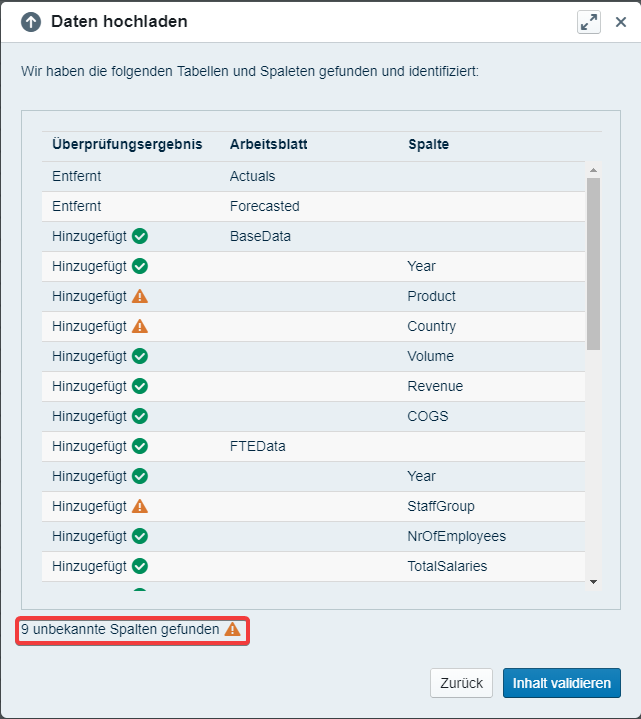
If there is an error during the validation process, please check Data Upload Errors, Warnings, and Infos Explained.
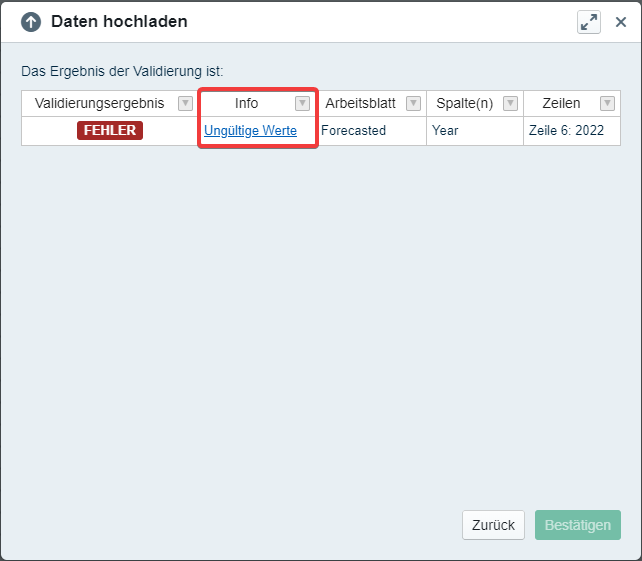
Alternatively, you can click on the error message to be redirected to the corresponding entry on our documentation.
