
Creating a new Model
This page is part of a tutorial. If you have navigated to this page directly you may start the tutorial at https://documentation.valsight.com/documentation/v2-building-a-first-model-step-by-step.
Note: If you are still in the Configuration UI, to move back to Simulation UI, click the icon in the top right corner.
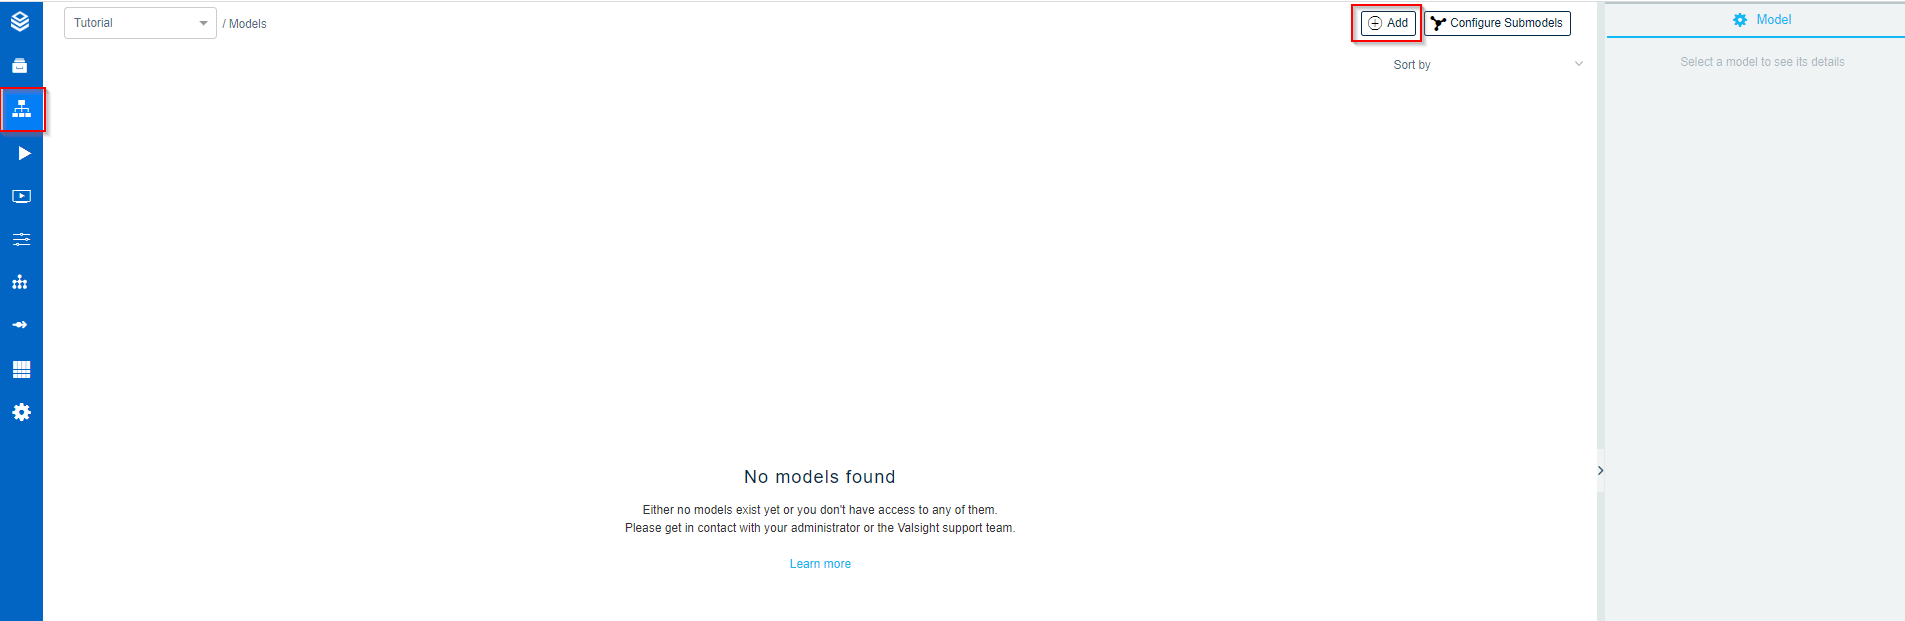
To start things off, we navigate to the model overview. In the top left corner, we select the Tutorial Project in the project selection drop-down menu. As a second step, we add a new model as shown in the following picture.
We then proceed with defining the basic properties of the model. After assigning a name, we set the "Default unit" to 'EUR' (a dropdown will appear as soon as ' is pressed), the "Default scale" to "Single" and the "Default digits" to "2". For this tutorial to work, we also have to make sure that the simulation horizon in our model starts with 2018: Change the horizon "From" date from the current year to 2018.
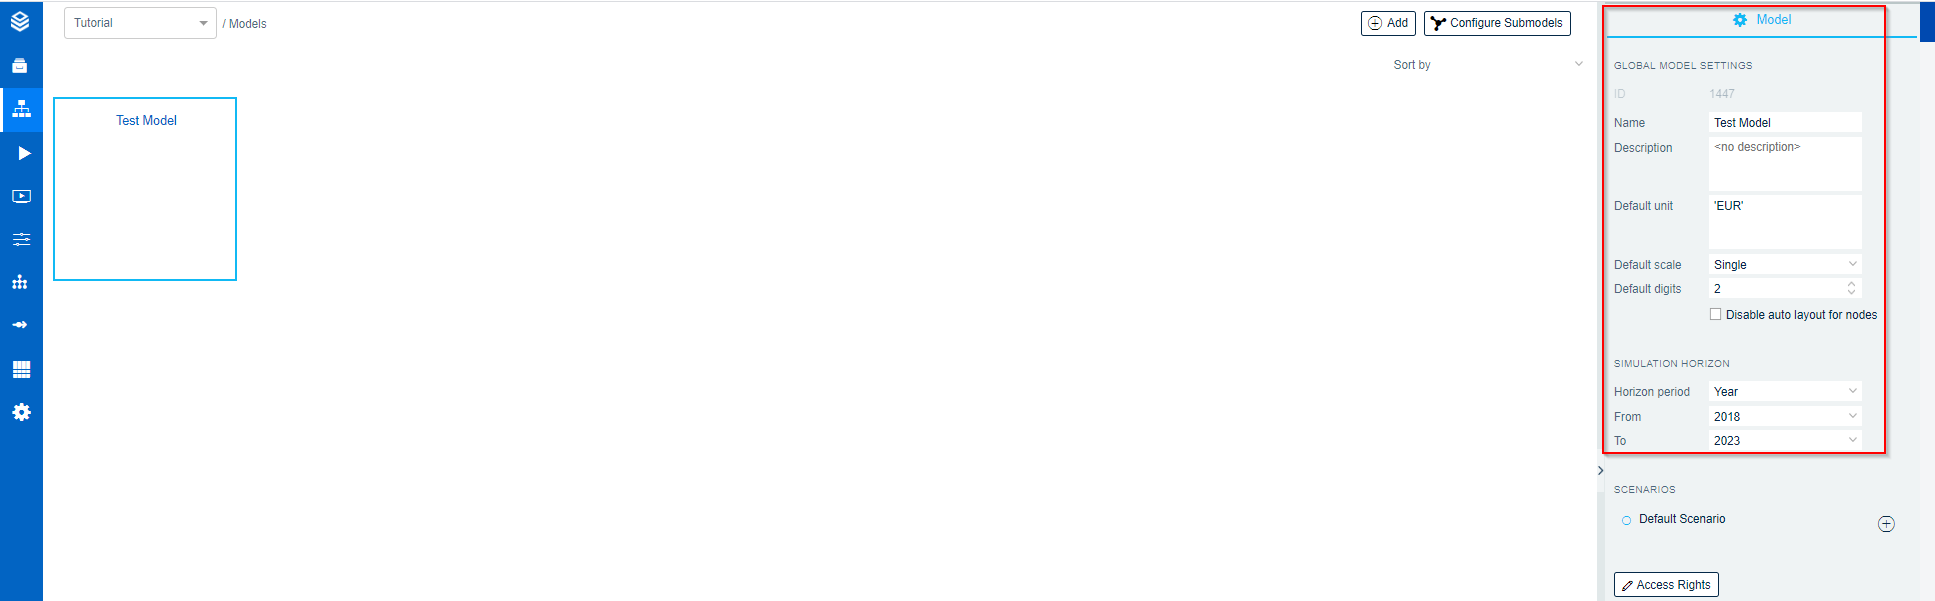
We can now open the model by double-clicking its tile or single-clicking its name.